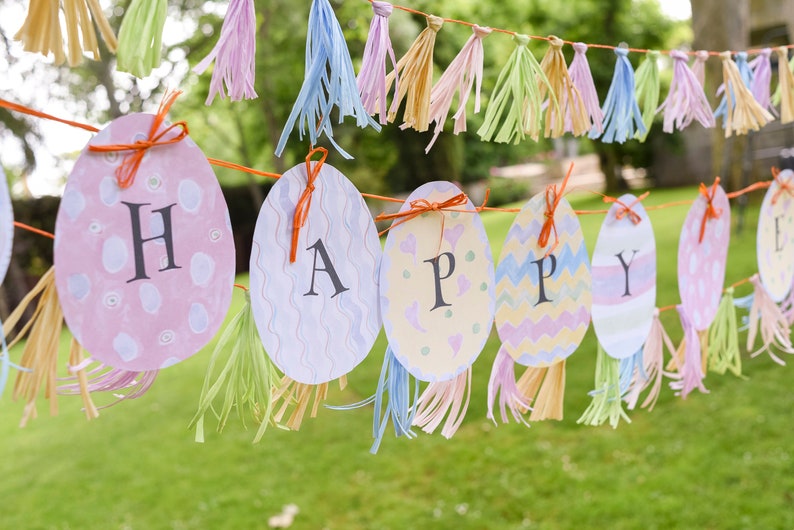
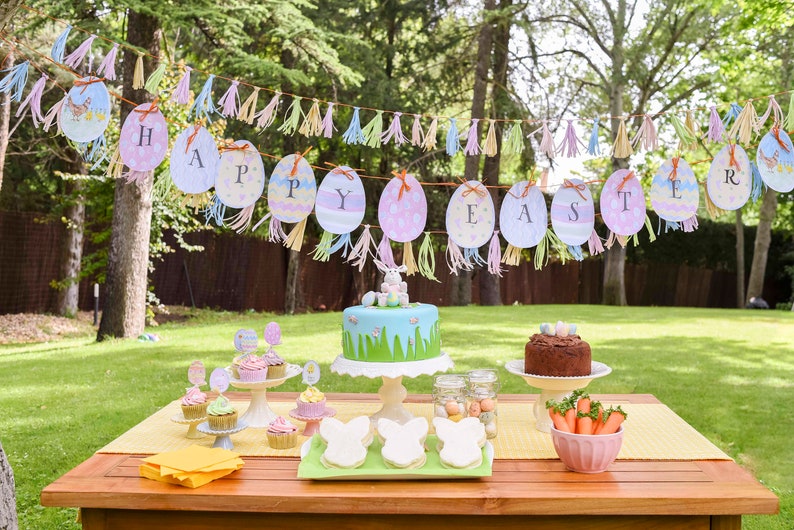
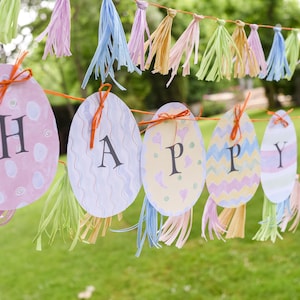
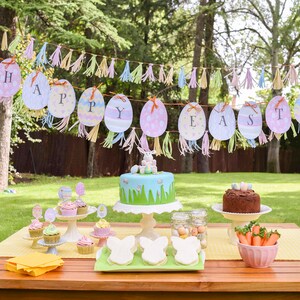
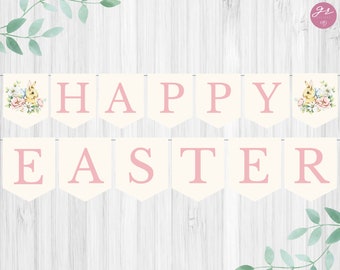
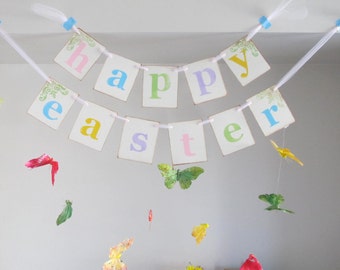
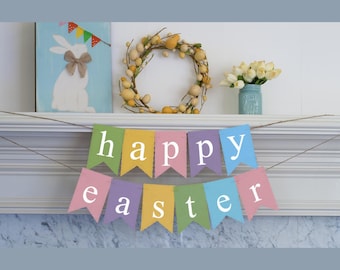
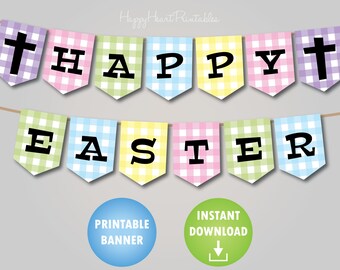
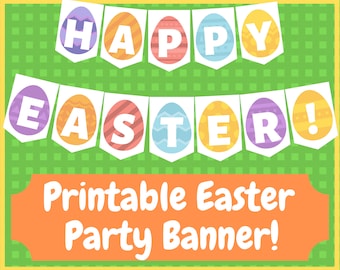
Download here this original bunting to decorate your Easter party. It will add a cheerful touch and its design and colours can match the rest of your decor.
Print the bunting and assemble it in just a few minutes with a scissors, hole punch and ribbon, readily available materials found at home. Something so simple you can do with the children who will collaborate very willingly.
★ DO NOT RESELL, OR COPY ANY ITEM. This product is for personal use only. For commercial use add to your basket a commercial use license. BUY HERE: https://etsy.me/3fUnTGi
★ Save money and download the Easter party bundle (including this Happy Easter Banner) HERE: https://etsy.me/3MZ4d3P
★ MATCHING PRODUCTS. This party set can be combined, matching your the rest of our Easter Collection. See all our options for this collection HERE: https://etsy.me/3rMmbep
★ You can download files adapted for manual use or for cutting with your Silhouette Cameo® or Cricut®
{ WHAT'S INCLUDED }
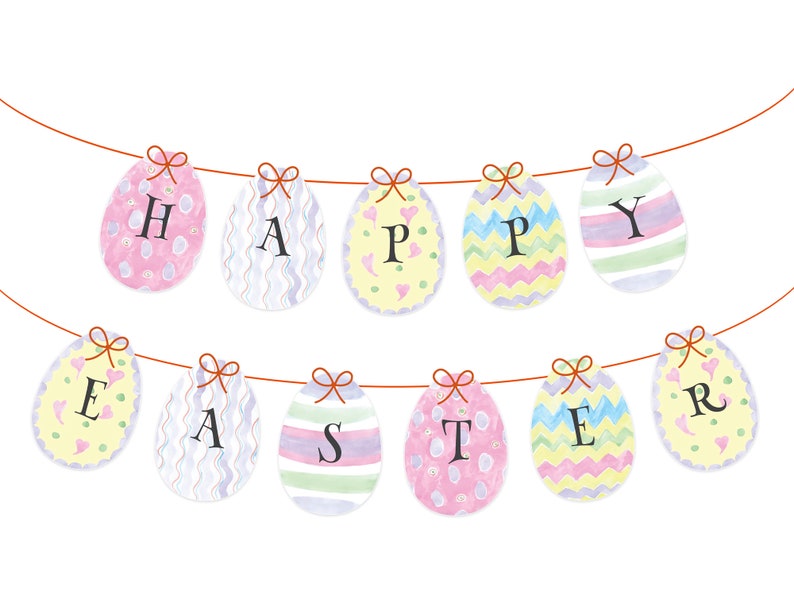
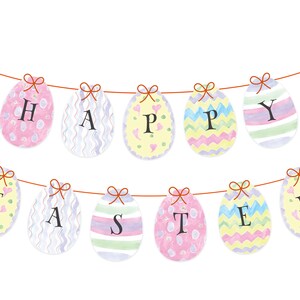
-14 bunting flags to make the message "Happy Easter"
You will receive all this pack in the following formats:
- 1 PDF file (7 pages) to print and cut out using hobby knife
- 1 PDF with directions of how to make this banner step by step using a manual cutting.
{ MATERIALS }
Full instructions to assemble the Happy Easter Banner are included in the instructions bellow. Additionally (materials are not provided), to make these DIY props you will need:
1. 14 A4 card paper
2. Scissors
3. Orange raffia ribbon
4. Hole punch
5. Ruler
{ STEPS TO FOLLOW }
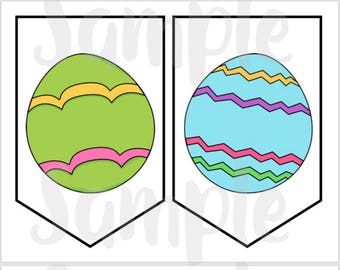
1. Print the Easter Bunting cut-outs
2. Cut the eggs with the scissors, carefully defining the oval edges
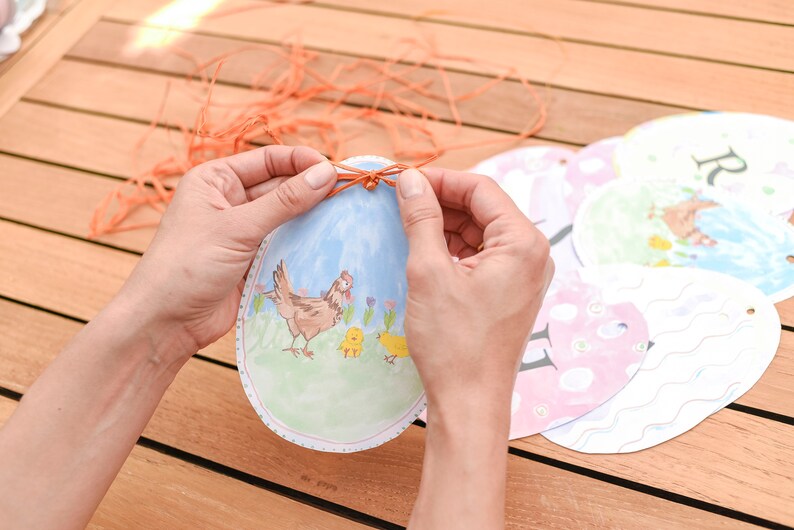
3. Make a hole in the top of each egg with the hole punch
4. Cut 13 pieces of 16” orange raffia ribbon and 2 pieces of 24”
5. Tie the ribbons between the eggs. First tie one 24” piece, which will be the end of the bunting to a 16”piece and make a knot. Then thread the ends through the hole. Finish off the front making a bow. Join the next piece of ribbon leaving a gap (about the size of your hand) and make a knot, repeating the operation, threading the free ends through the hole of the next egg and making a bow in the front. Repeat this until all the eggs are done. But before the final egg, make sure to attach the other 24” piece of ribbon. And thread the ends though the hole.
6. Finally, hang the bunting to decorate your Easter event
{ DIRECT DOWNLOAD }
When you finish your purchase your file will be download to your Etsy account directly and you will be able to print it as many times as you want.
WEBSITE: www.fiesta4u.com
FACEBOOK: https://www.facebook.com/fiesta4u/
Instagram: @fiesta_4u
Copyright © Fiesta4U, LTD, All rights reserved. www.fiesta4u.com. These images are copyrighted by Fiesta4U, LTD and in such may not be reproduced, copied or sell without permission from Fiesta4U, LTD.